Create A Basic Headless WordPress Site
In the previous tutorial, we setup our development environment to create JavaScript/TypeScript apps efficiently.
Now, we are going to create our frontend web app using Next.js, and spin up an instance of WordPress.
Create a Next.js App#
Next.js offers a handy CLI tool called create-next-app that will help us create a basic Next.js app.
To get started, run the following command:
You may be asked to install create-next-app if you haven't already. If you are prompted, enter y to continue.
Great! Your app has been created. However, it's not quite ready for TypeScript yet. Let's do that now.
Setup TypeScript#
Start by cding into your app directory:
Now, run:
This will create your TypeScript config file.
Now, let's install TypeScript and our dependencies.
Once the dependencies are installed, you can run npm run dev to start the development server. Doing this will automatically generate the settings needed for tsconfig.json.
Now, convert your existing pages to TypeScript:
Rename pages/_app.js to pages/_app.tsx, and replace the contents with the following:
Additionally, rename, pages/index.js to pages/index.tsx.
Your Next.js site is now ready for TypeScript! Let's move on to WordPress.
Create a WordPress Site#
Now that we have created a Next.js app, we can create a WordPress site. We use Local to spin up instances of WordPress locally.
Start by downloading and installing Local from https://localwp.com. Once, installed, click the + button in the bottom left corner of the screen.
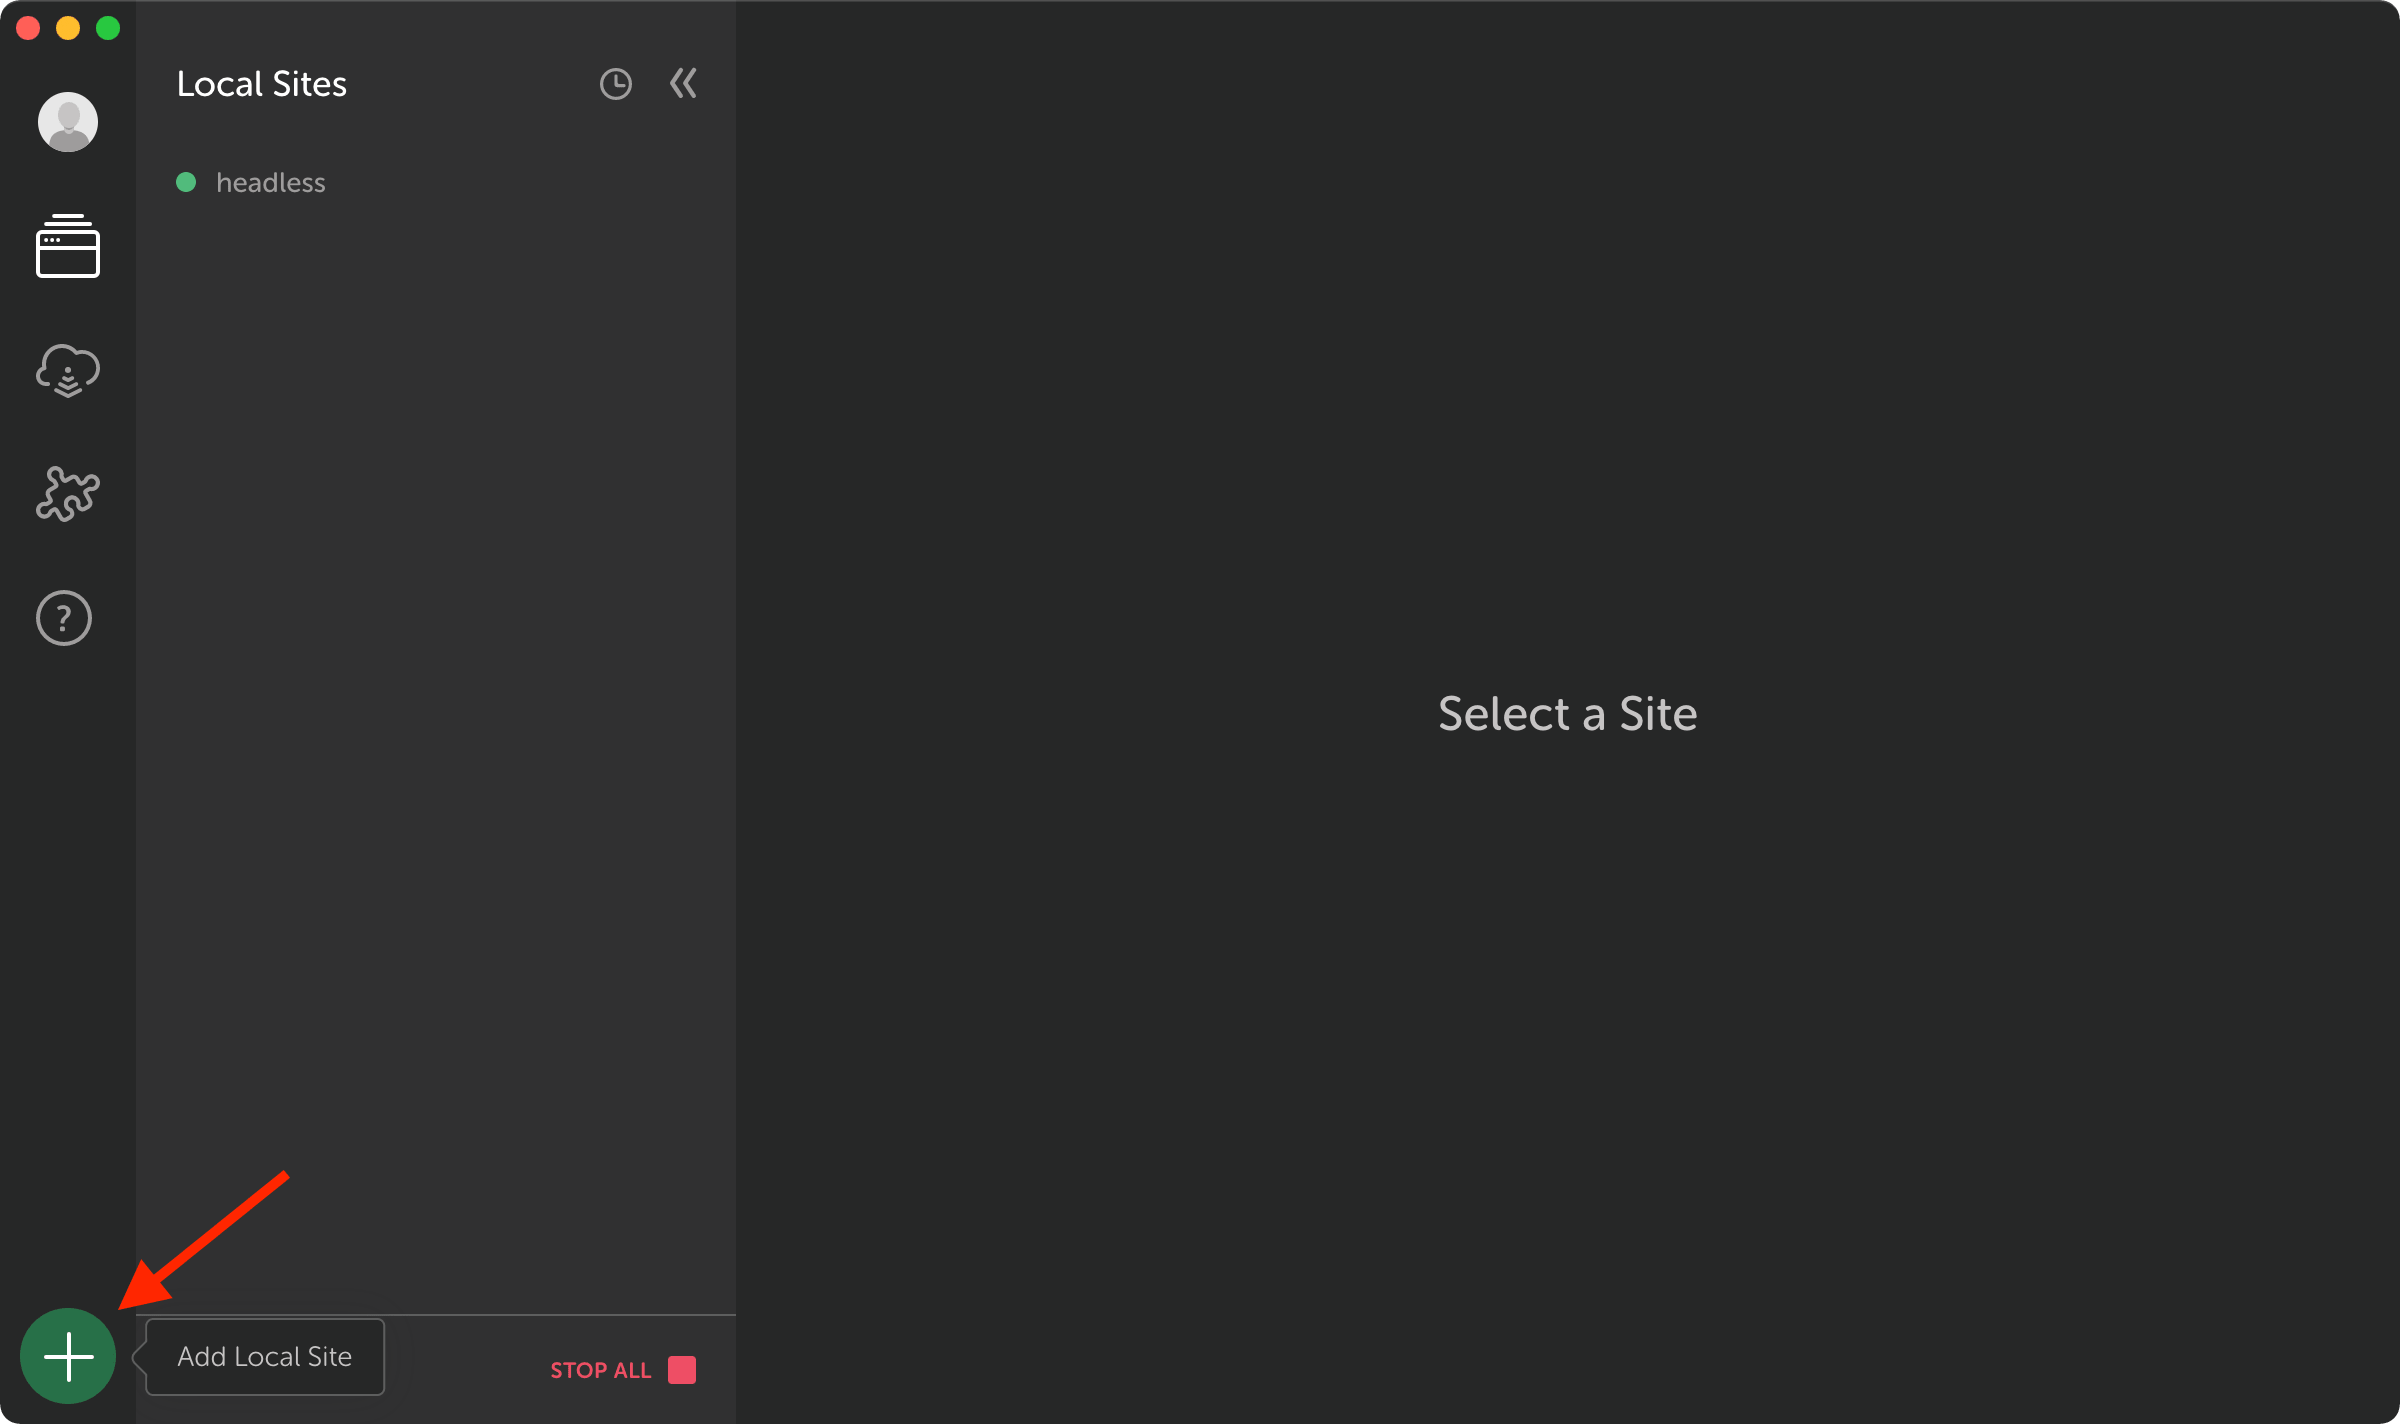
Follow the onboarding process to create a new WordPress site.

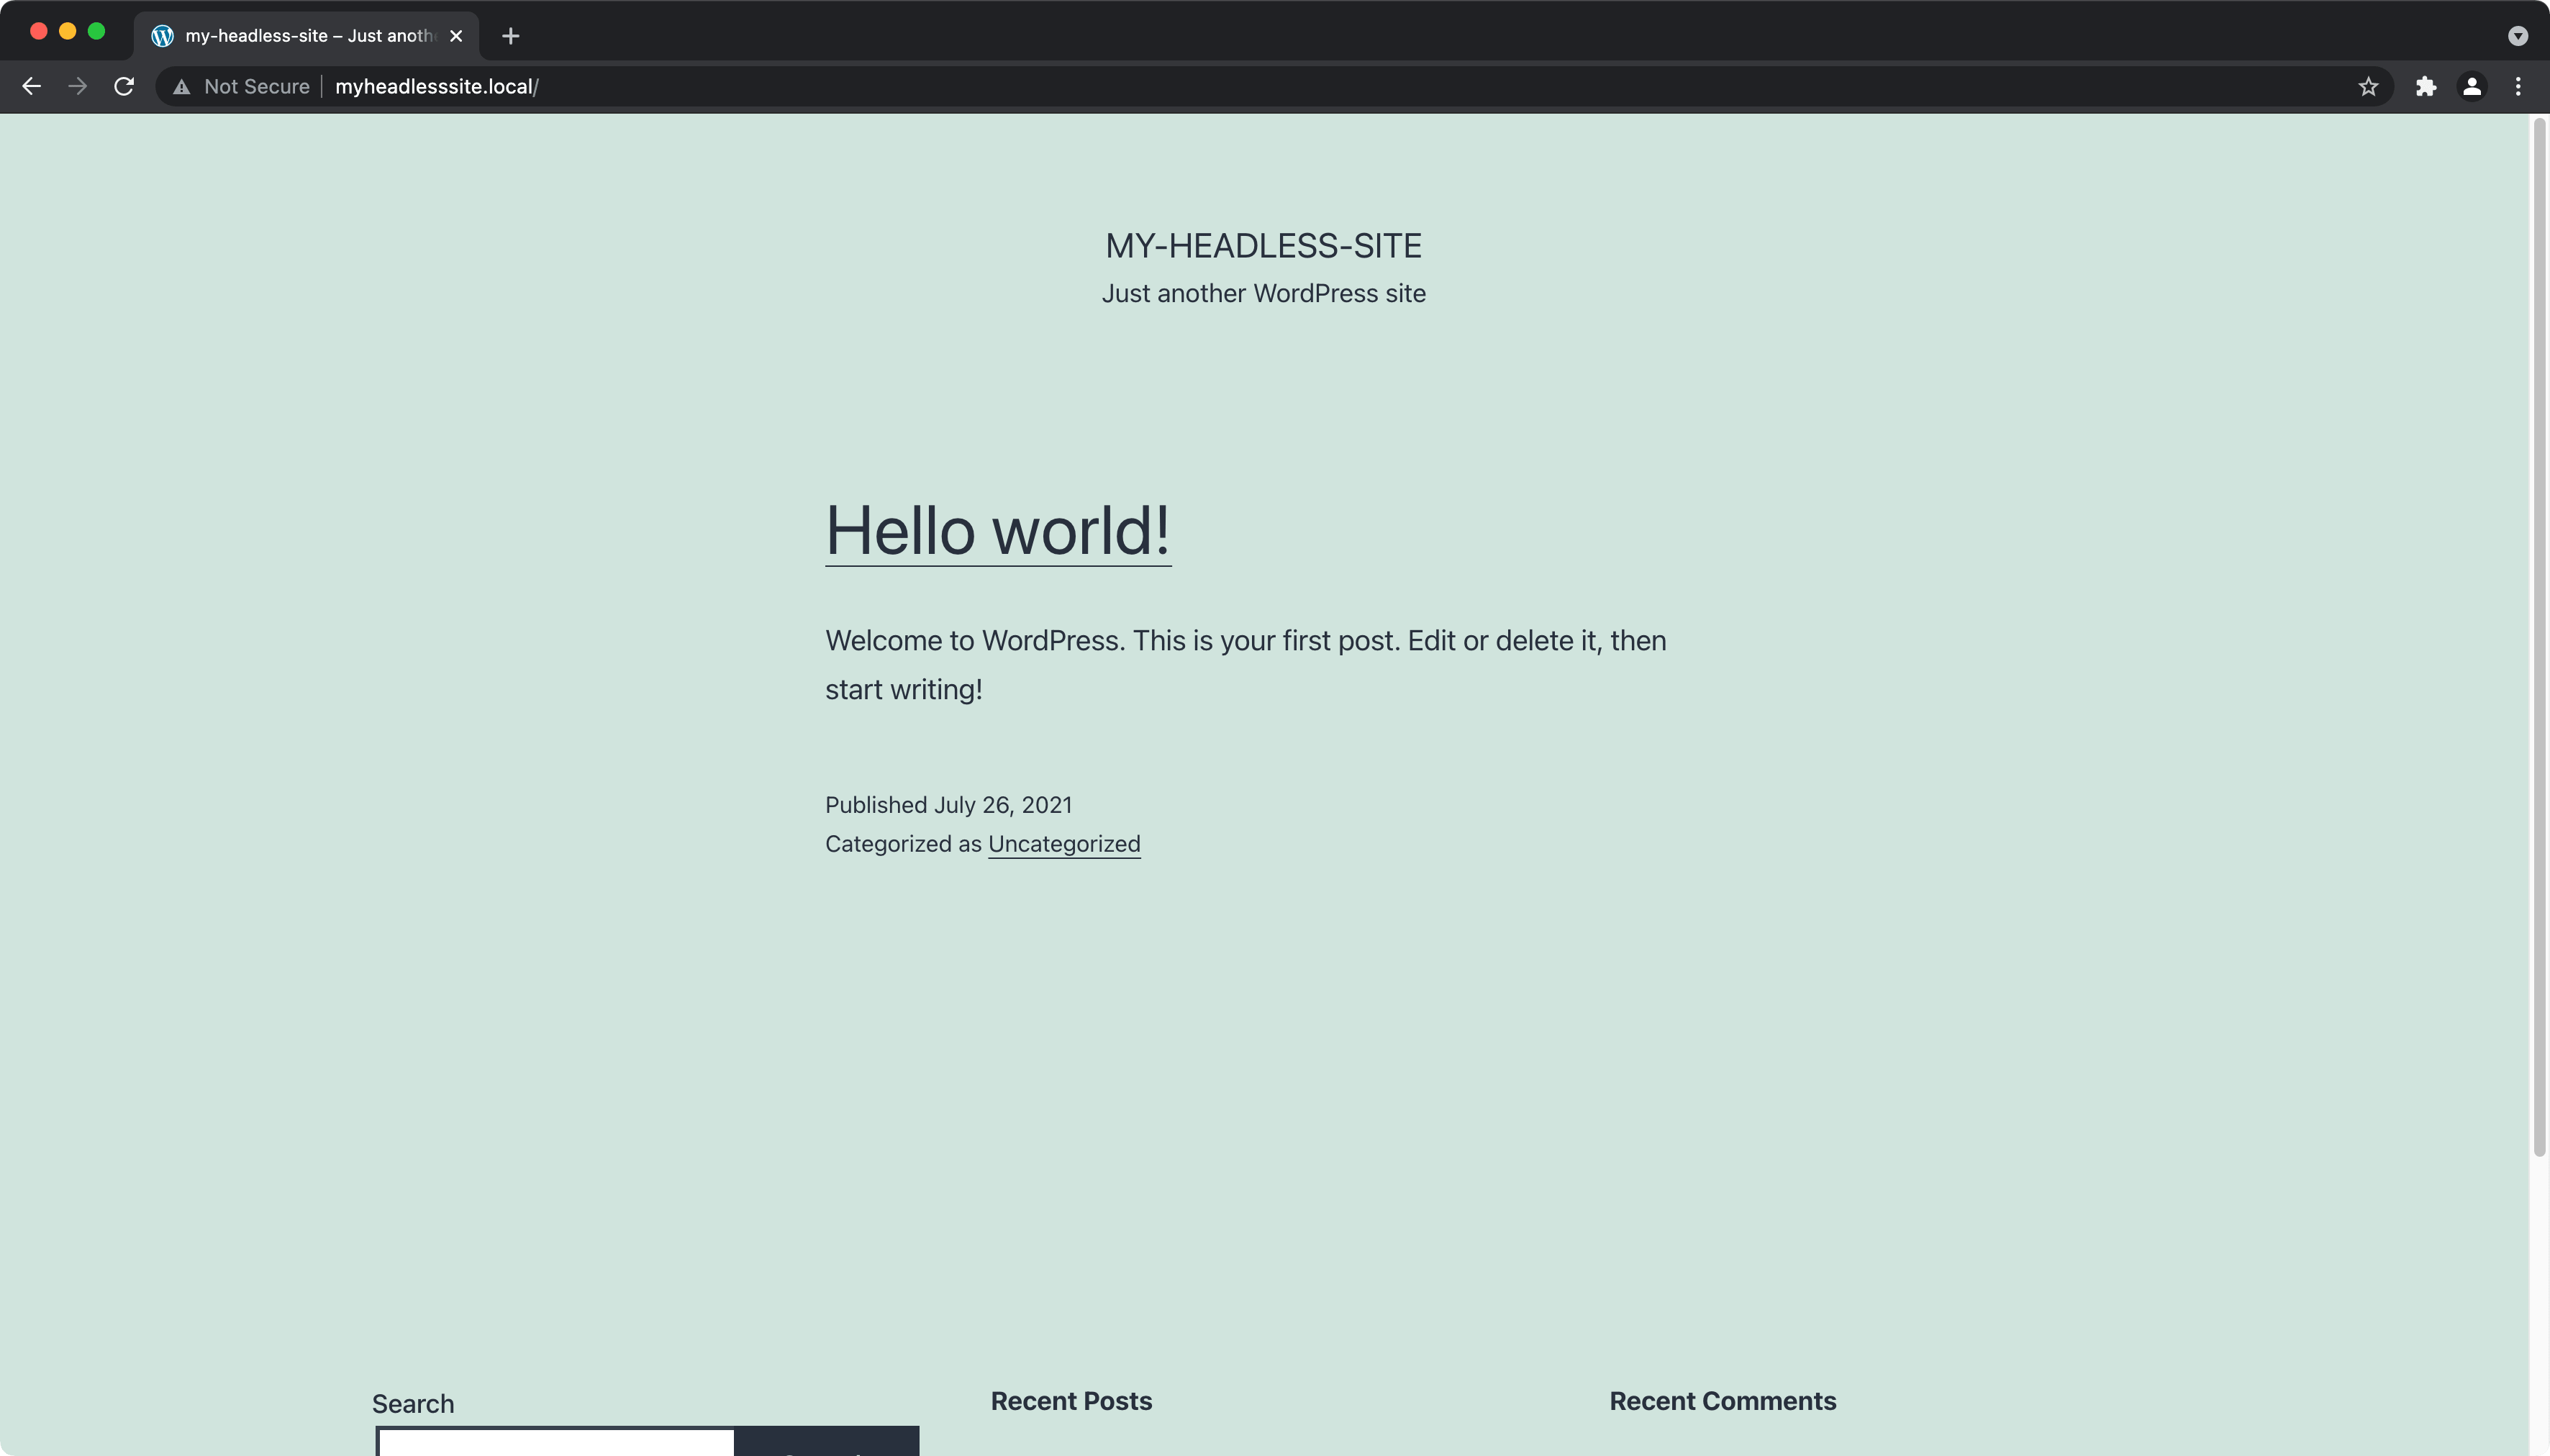
You can then copy the "Site Domain" and visit your new WordPress site directly.
Key Takeaways#
- We used
create-next-appto create a Next.js app - We installed and setup TypeScript on a basic Next.js app
- We created a WordPress site using Local
What's Next?#
In the next tutorial, we'll create our first React component!